Every vehicle that is remotely controlled can be called drone, even if this term is often used when referring to quadrotors. In this article we are going to take a look at a drone that is a 1600mm wingspan RC glider plane: Volantex Ranger 1600 V757-7. The term Ranger is really appropriate since this aircraft can be used to monitor the surroundings from the sky due to its flying capabilities.
In fact, this aircraft is arranged to be equipped with optional FPV rig (camera, VTX and antenna) so as to be used for FPV flights. There are two versions: KIT (no electronics) and PNP (everything included except for TX, RX and battery).
Box contents
This is Volantex Ranger 1600 V757-7 box:
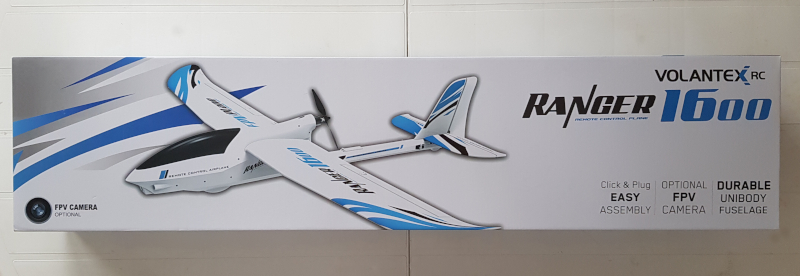

It is a good idea to keep the box since the aircraft does not require any glue during the build and can be disassembled entirely for storage.
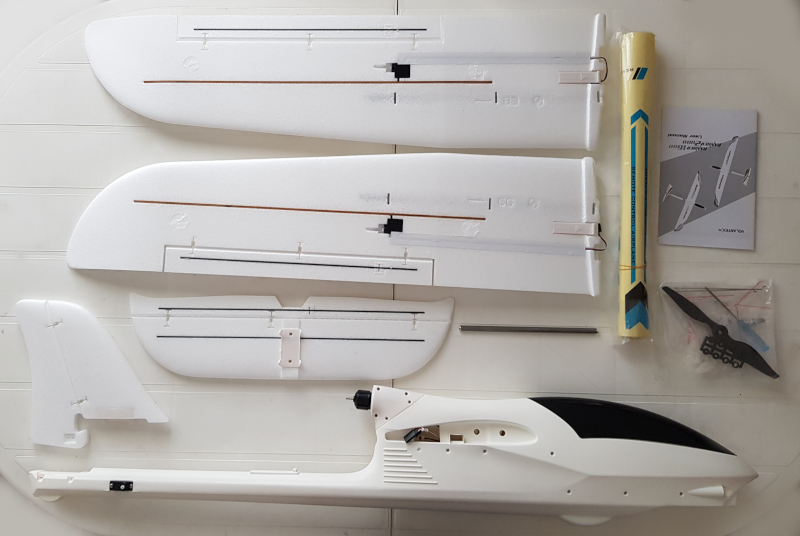
Opening the box, we get the following view:

The following images show the items contained in the box:
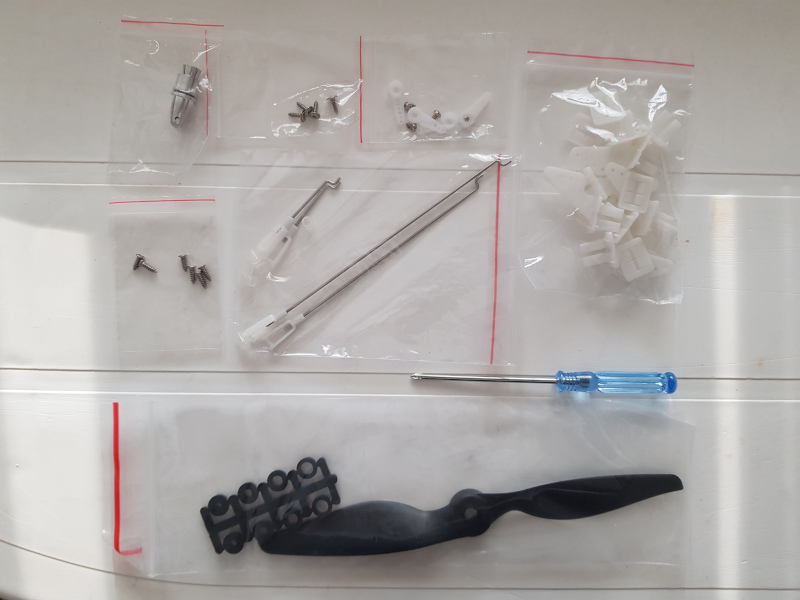
Some smaller parts detail, including also a little screw driver for the assembly:
Good quality stickers (wings ones are not so easy to put on due to wings shape):

Specifications
- Brand: Volantex
- Item Name: Ranger 1600
- Item NO.: V757-7
- Wingspan: 1600mm
- Fuselage Length: 1100mm
- Material: Plastic/EPO
- Propeller Size: 8040
- Brushless Motor: 2212 1400KV
- Brushless ESC: 30A ESC
- Servo: 9g x 4
We can now take a detailed look at the main parts of the plane.
Horizonatal Stabilizer
Horizontal stabilizer top side:

Horizontal stabilizer bottom side:

Notice carbon fiber reinforcements, plastic hinges and mounting supports.
Vertical Stabilizer
Vertical stabilizer right side:
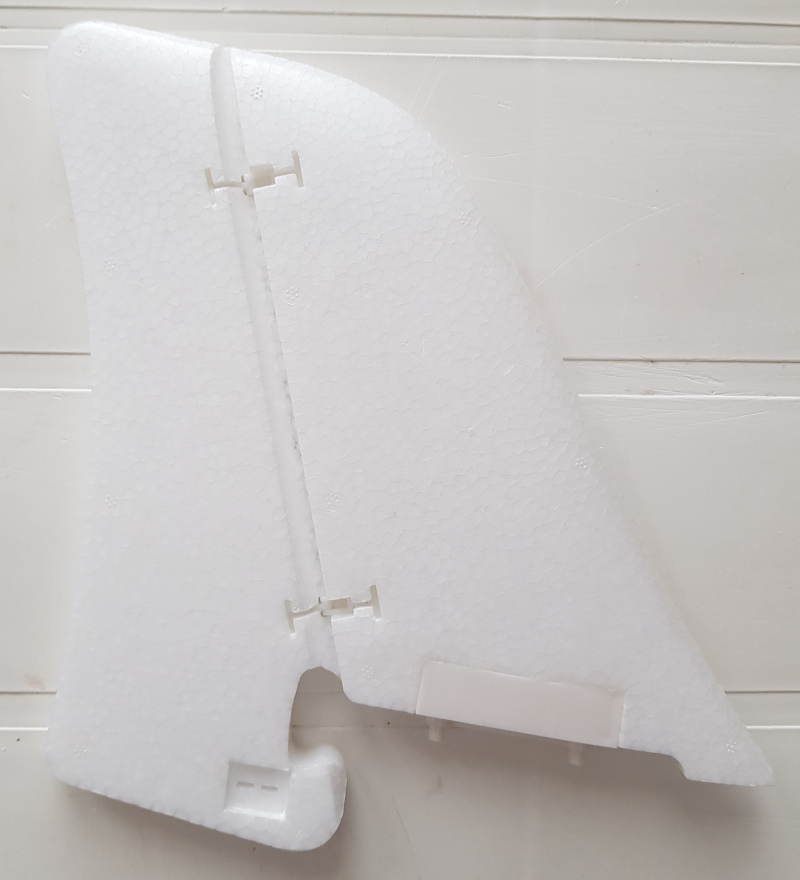
Vertical stabilizer left side:
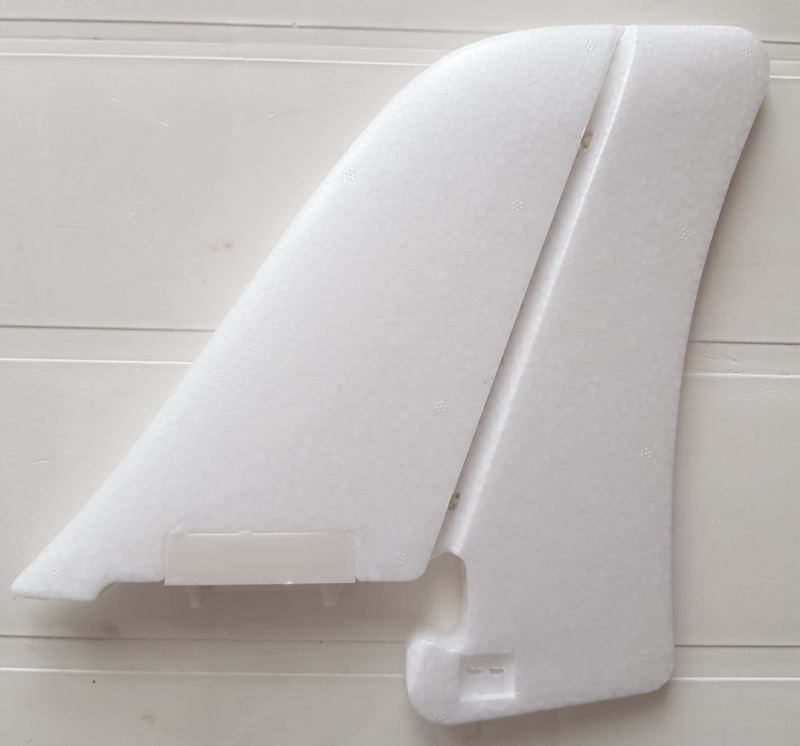
Plastic hinges and mounting supports are also here.
Wings
The following images show right wing details.

Below the wings, we can see plastic hinges, aileron servo and the reinforcing carbon bar on the aileron

CG (Center of Gravity) markers are clearly noticeable: this is one of the most important thing to check before flying; supporting the plane using index fingers in the marked CG points on the wings must result in a balanced horizontal plane (better a bit nose heavy than tail heavy).
The plastic clip locks the wing to the fuselage: this is a very nice feature assuring rapid assembly/disassembly at the flying spot.
Notice the servo connector for the respective channel on the receiver: it has to be connected with the cable extension coming from the fuselage hole where wings connect.
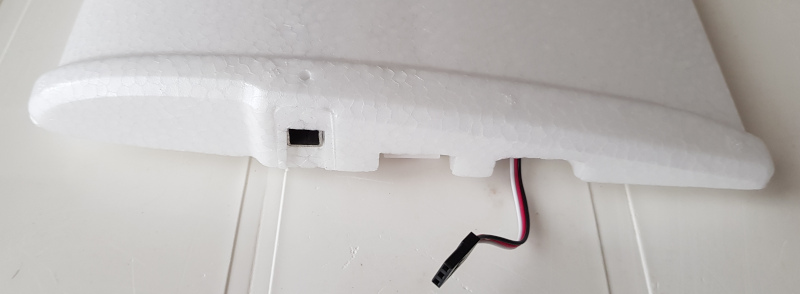
The aluminum bar to connect the wings has to be inserted inside the hole on the internal side of the wings.
Fuselage
Here is the very nice plastic fuselage:

Notice the mid part where wings attach and extension cables for receiver connection.
On the back we can see elevator and rudder servos:

Detail of Volantex Ranger 1600 V757-7 nose:
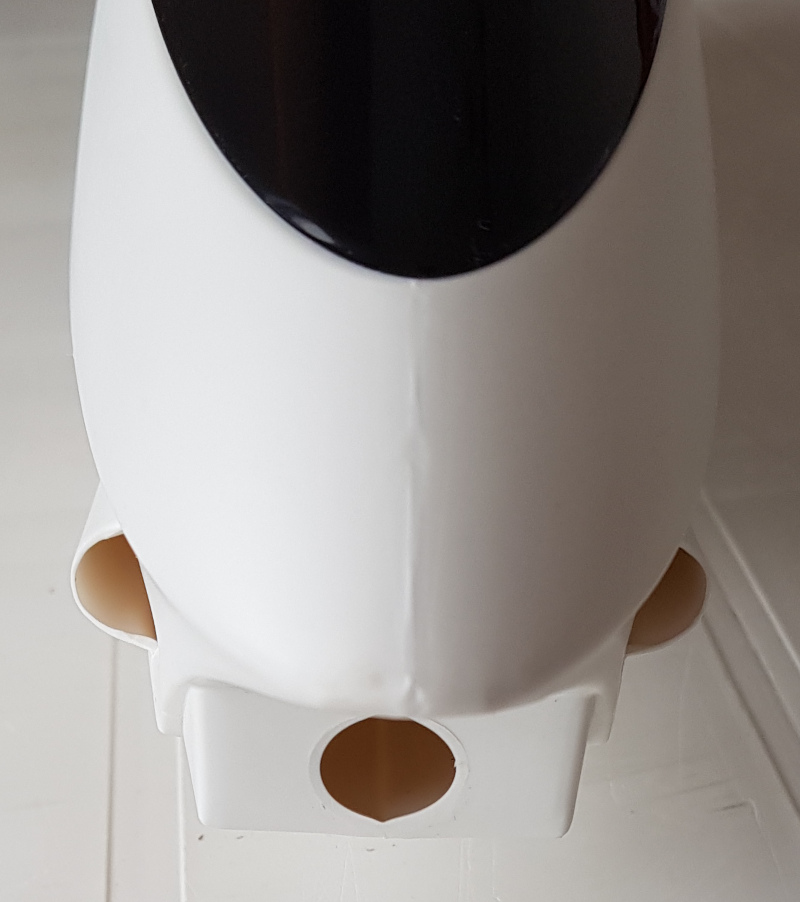
Holes on the side are for ventilation to cool down electronic components on the inside, while the central hole is for the optional FPV camera.
There is a lot of room on the inside to position all the required components, even the optional FPV rig:
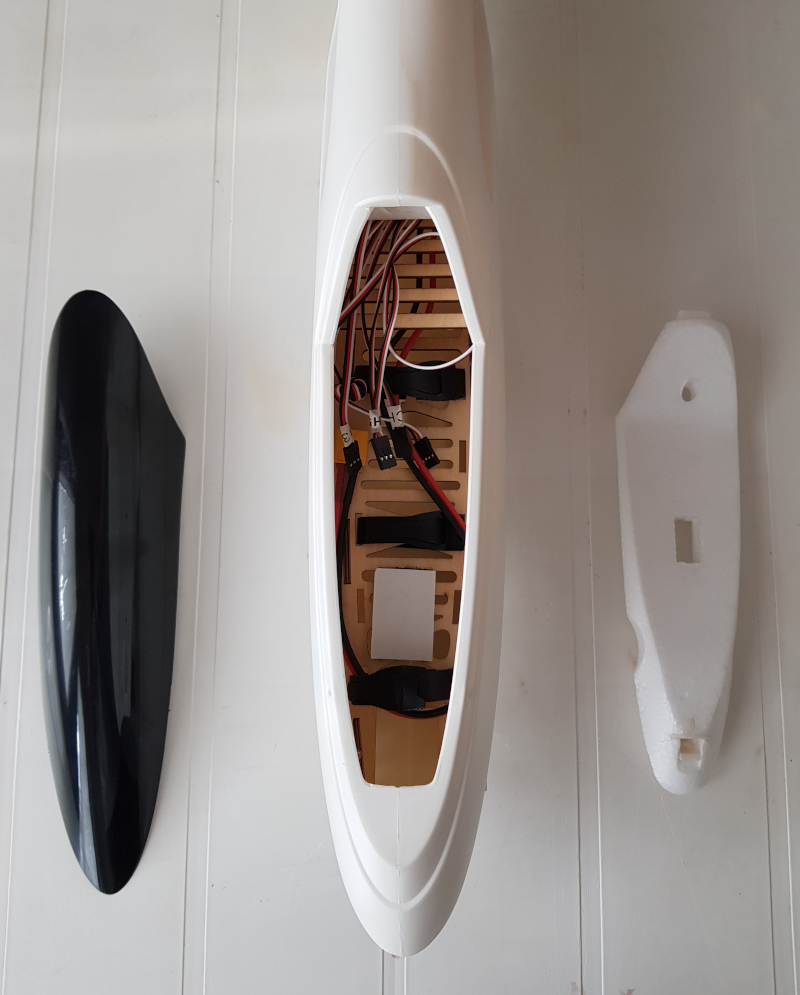
All servo cables are labeled with channel identifier and there are 3 battery straps and velcro to lock the chosen battery (with XT60 connector, not included) in place:
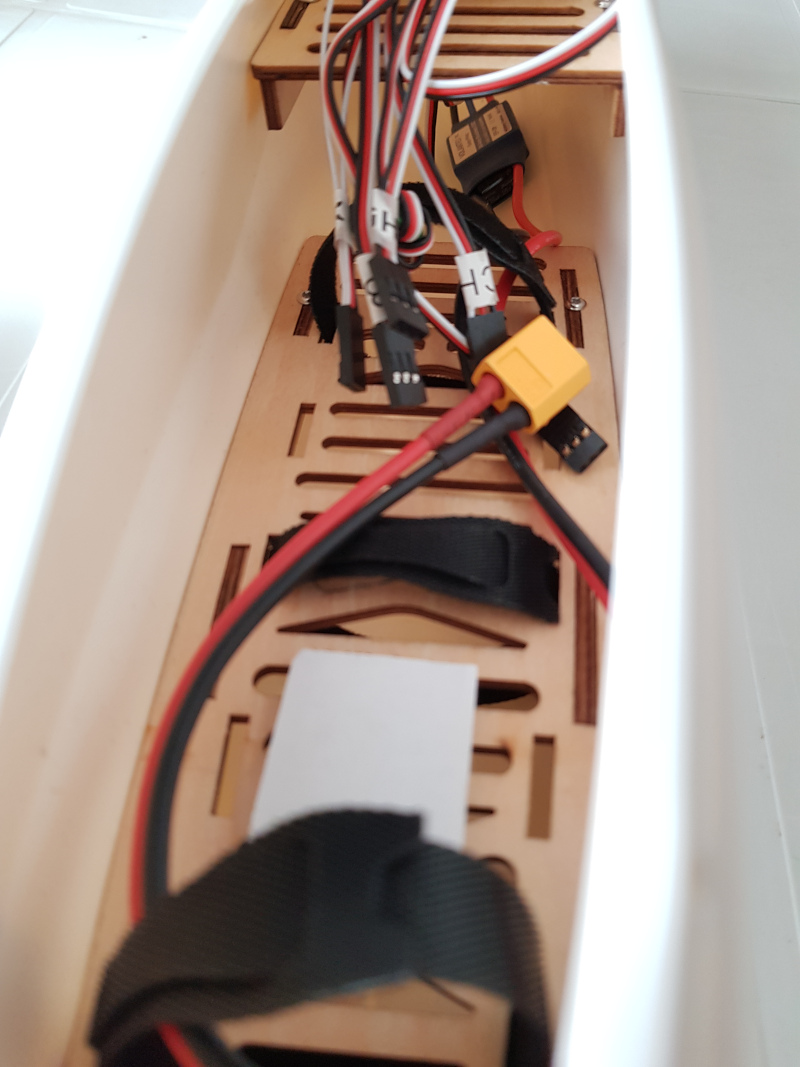
Notice also the Volantex 30A ESC on the inside.
Motor and Propeller
Volantex Ranger 1600 V757-7 is equipped with 2212 1400KV brushless motor:
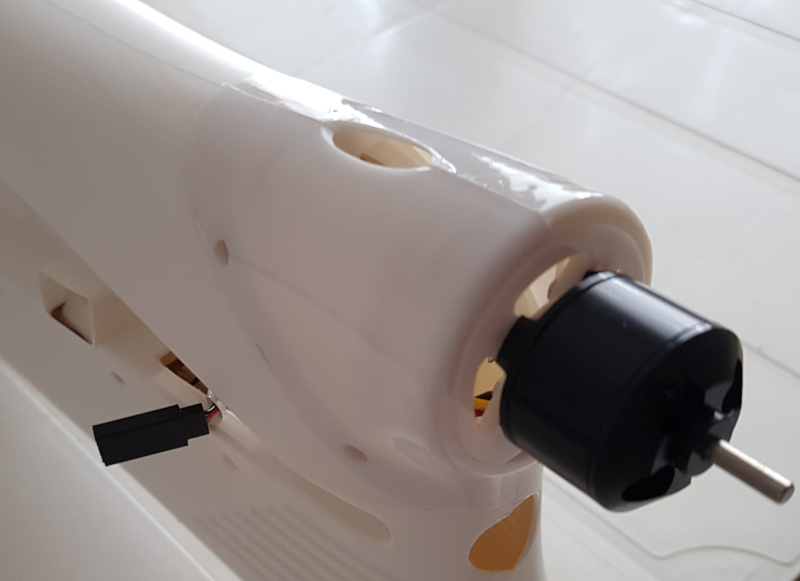
The propeller is a simple 8x4 pusher prop: remember to lock the propeller manually testing for a position that causes less vibrations.
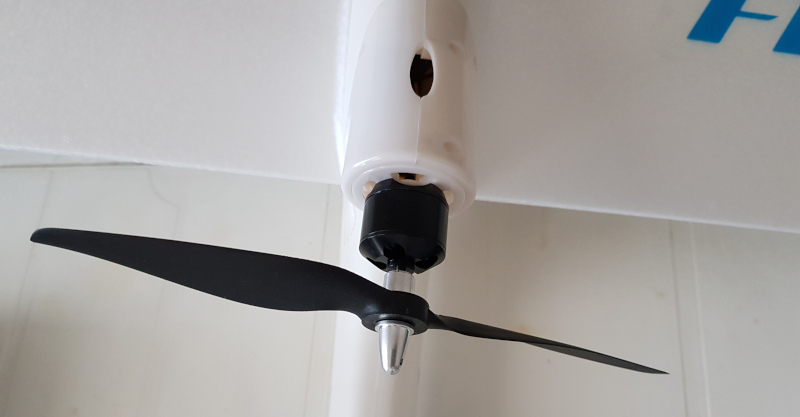
This combination gives the plane a pretty strong push.
Transmitter and Receiver
For transmitter and receiver we can go for SBUS protocol, so FrSky Taranis X9D Plus SE 2019 with any FrSky compatible receiver with at least 4 channels, like the FrSky X8R receiver.
Battery
There is one thing to be noted about the battery: manufacturer suggests 2200mAh 3S, but this battery configuration does not weigh enough to balance the plane accordingly to the specified CG (at least without mounting the optional FPV equipment).
This aircraft balances and flies perfect with 4000mAh 3S LiPo batteries: Gaoneng 4000mAh 3S 80C LiPo Battery is a good choice since it comes also with XT60 connector.
Build
After applying all the stickers (it is better to do that before starting the build), we can follow the included instruction manual that has all the steps needed to complete the build.
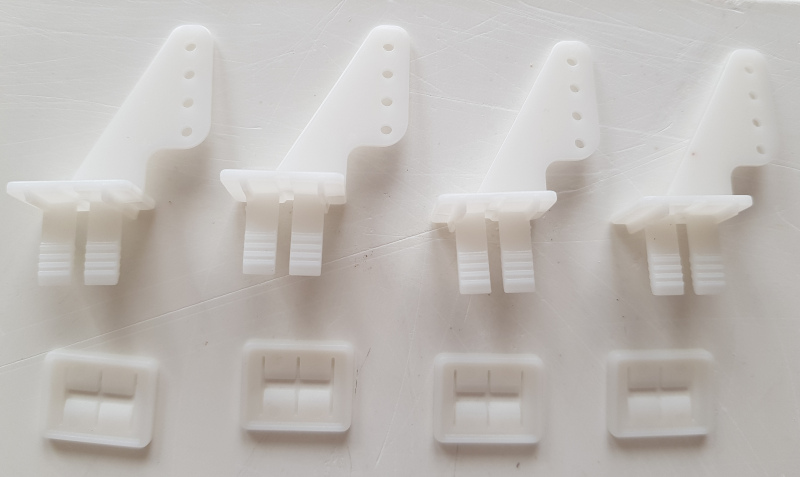
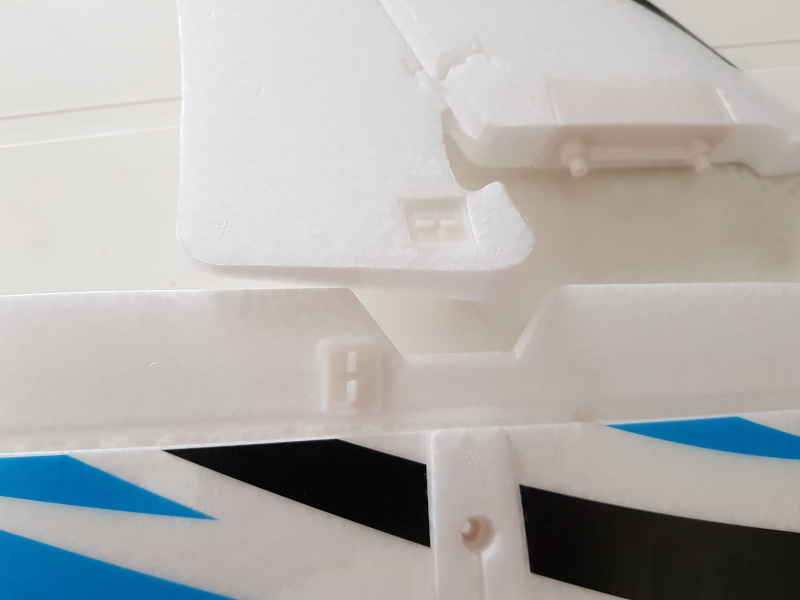
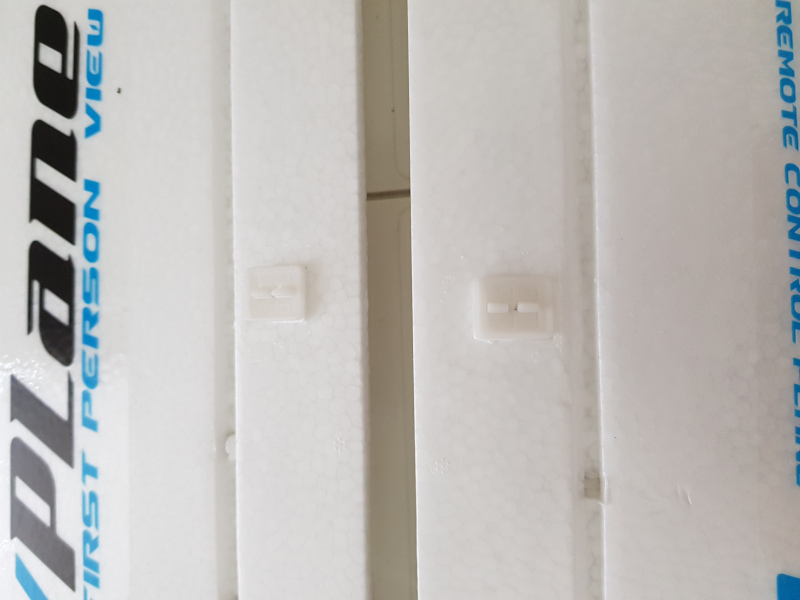
We can start by locating the 4 control horns and mounting them to the stabilizers and the wings: to lock them, we just use the included clips.
Horizontal and vertical stabilizers with control horns installed:
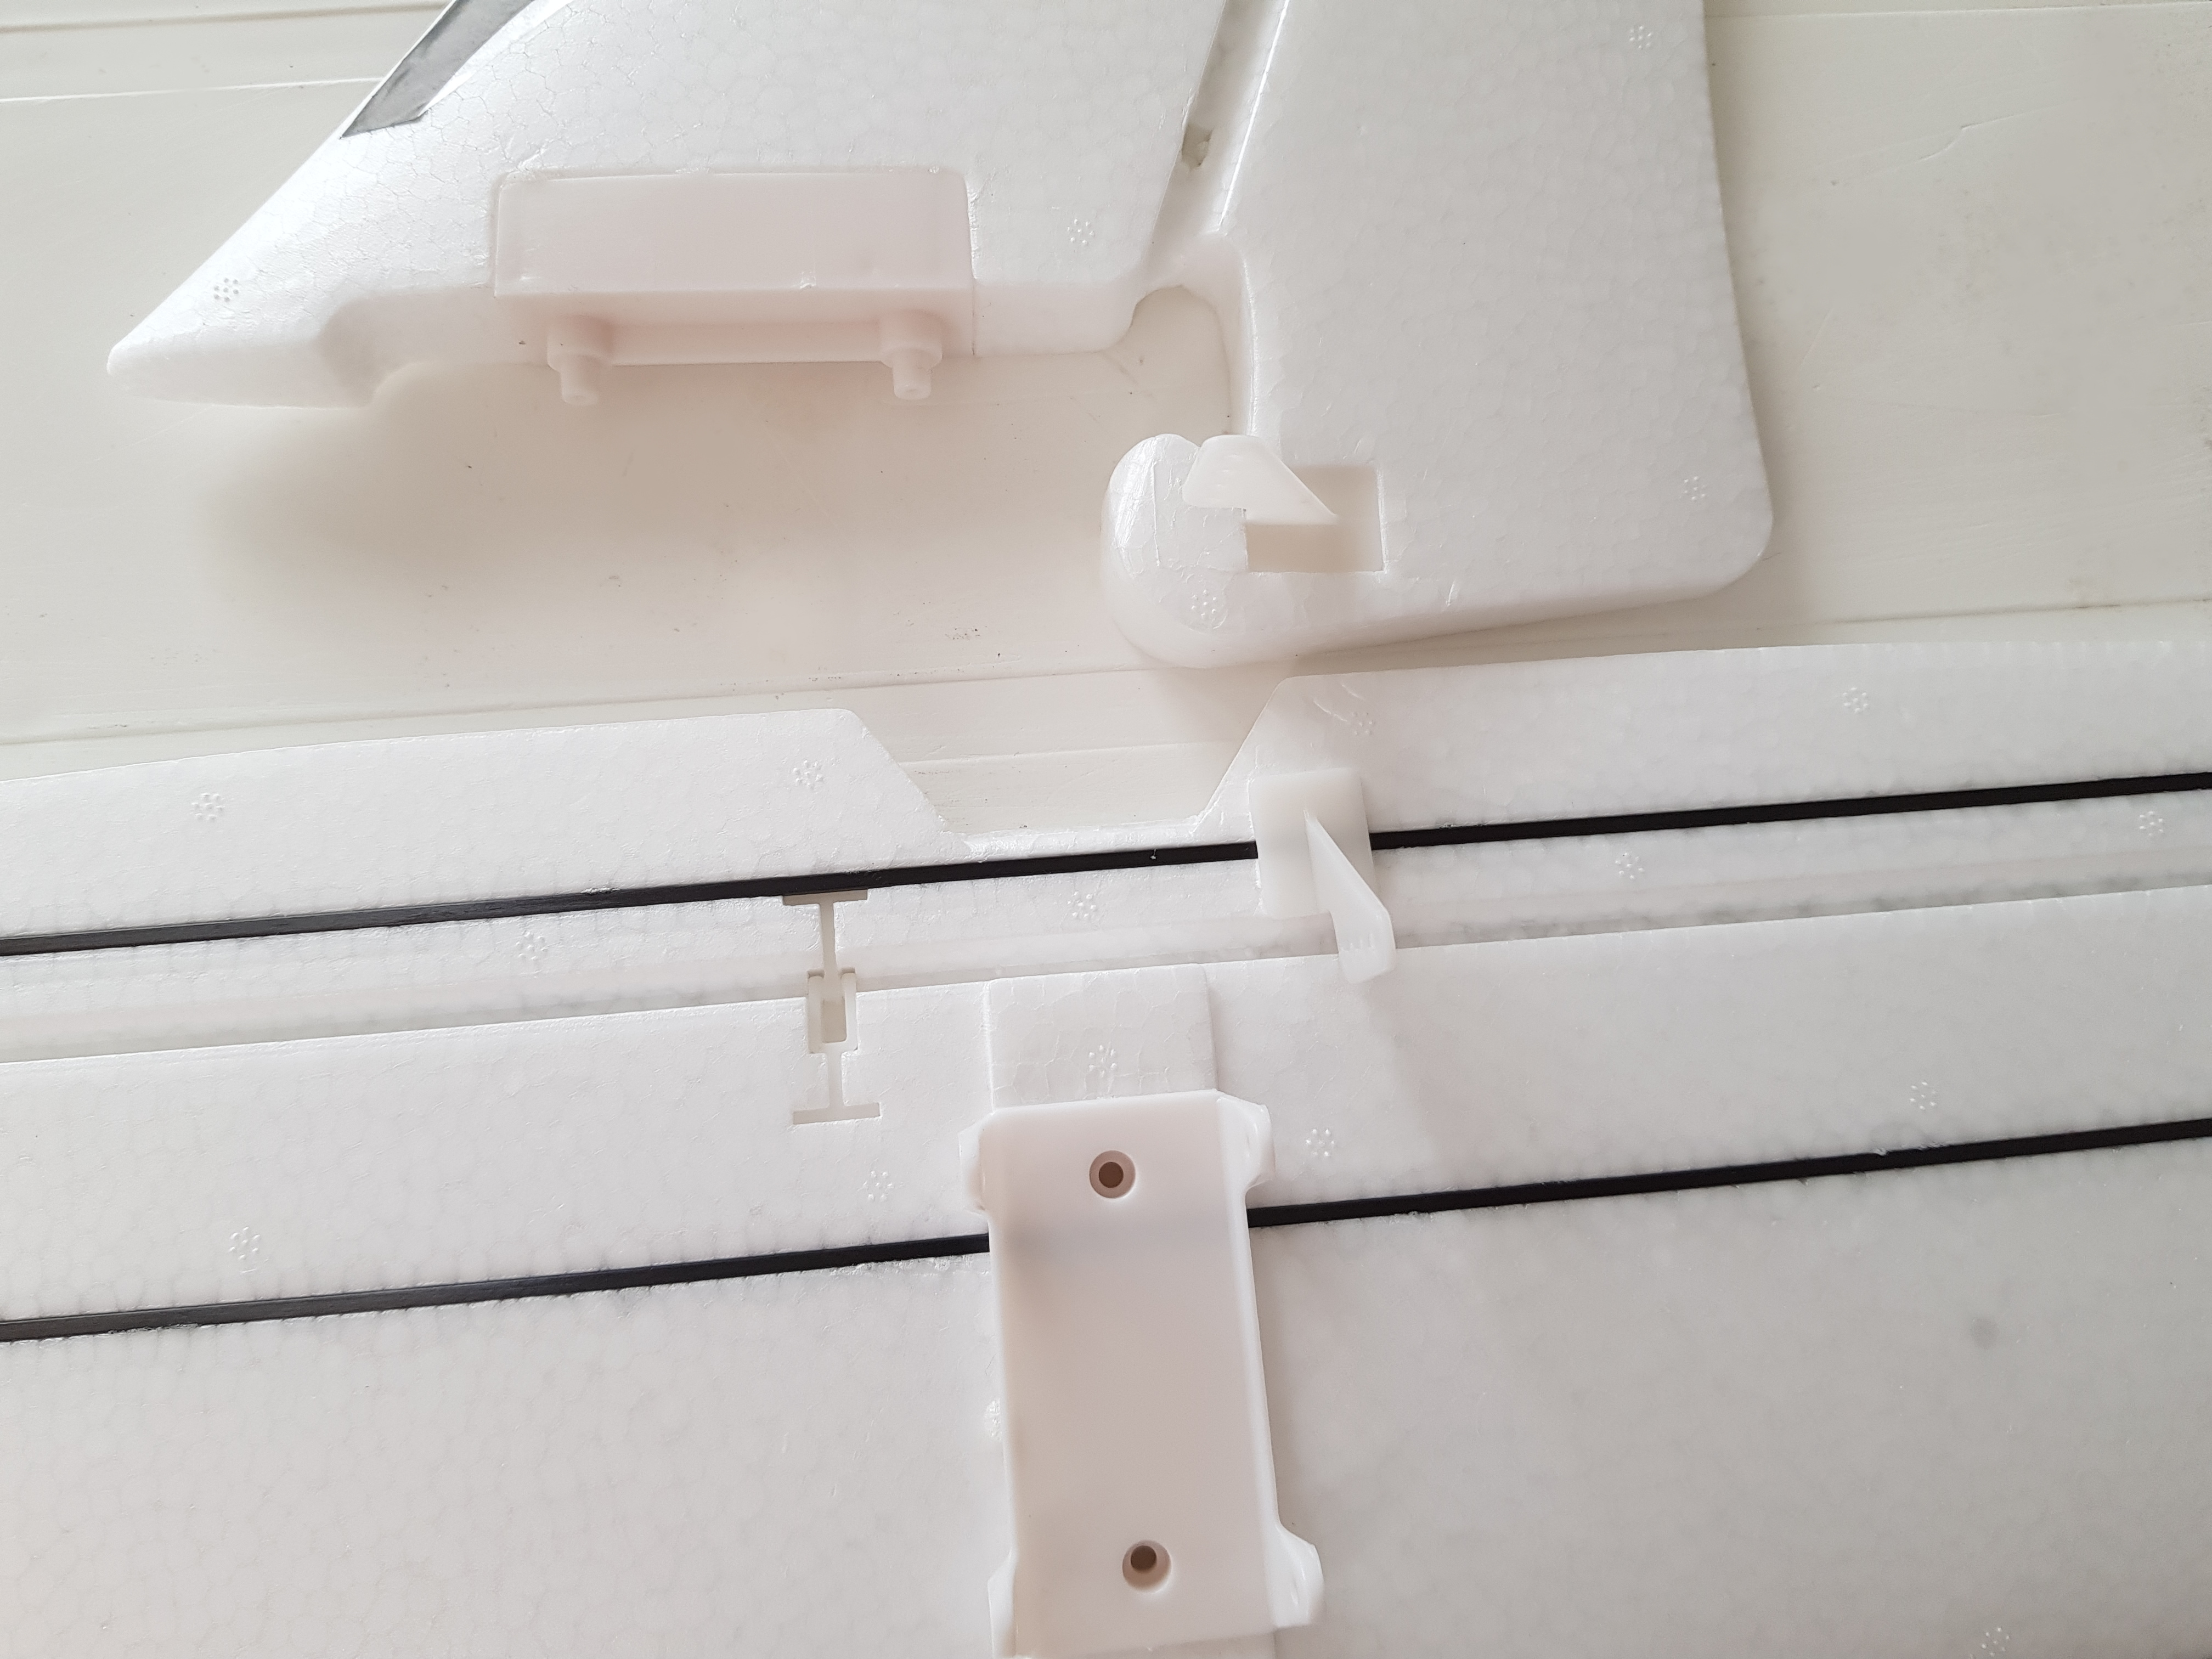
Detail of control horns clips on the back of rudder and elevator:
Wings with control horns installed:
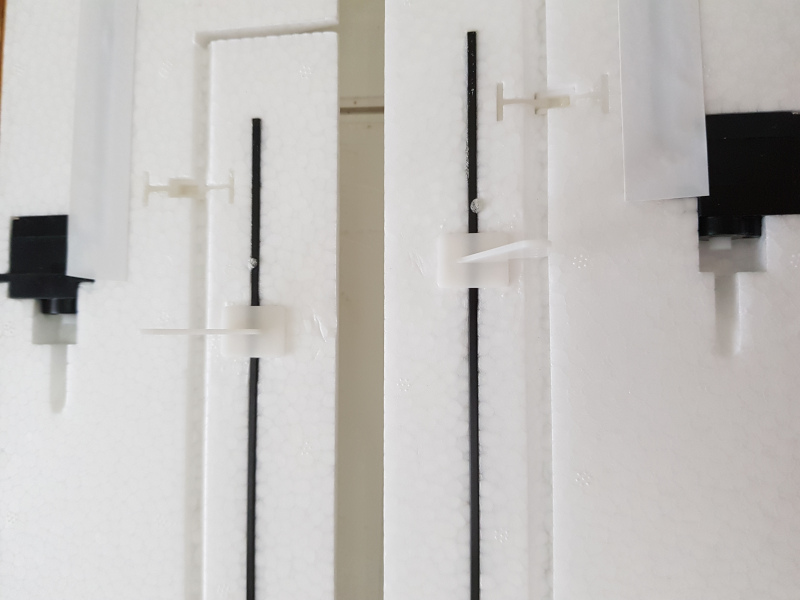
Detail of control horns clips on the back of the ailerons:
Then we can join the stabilizers and install them on the fuselage using the included screws through the plastic mount points:
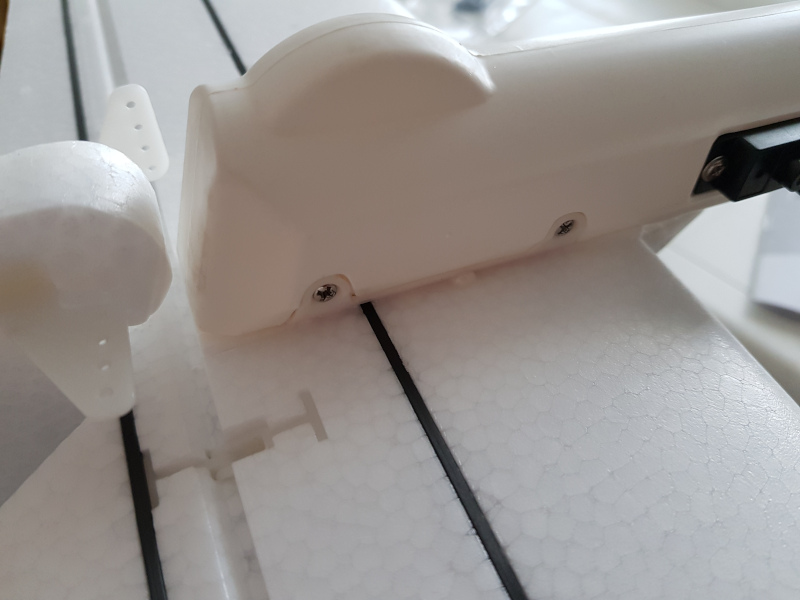
We can now prepare the 4 pushroads and the 4 servo horns to move the four control surfaces (ailerons, elevator and rudder):
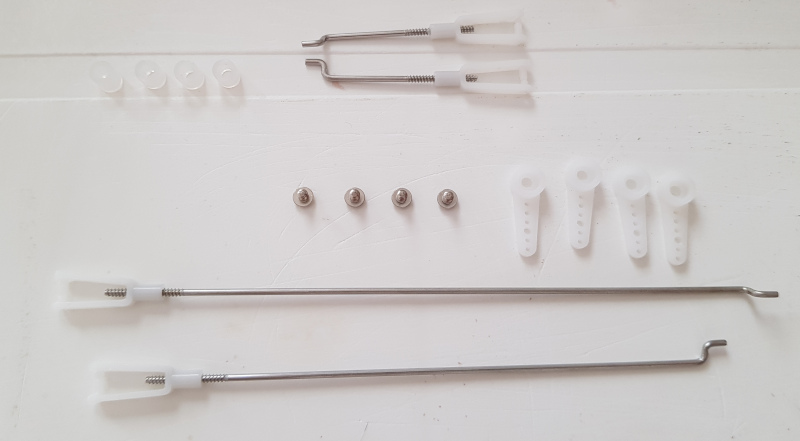
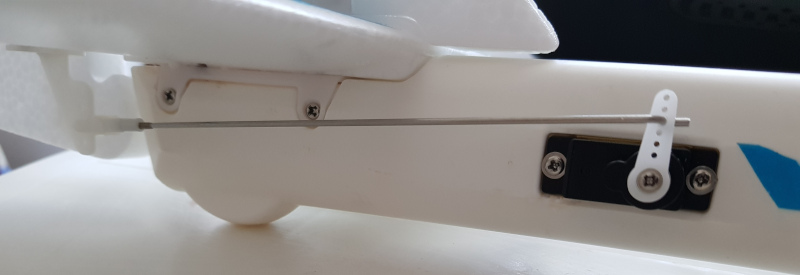
Before mounting pushroads remember to center all servos plastic levers with TX/RX powered on and channel commands trimmed to neutral (mechanical centering should always be preferred) and then adjust pushroads length to have control surfaces in neutral position.
Elevator pushroad mounted and connected to the servo:
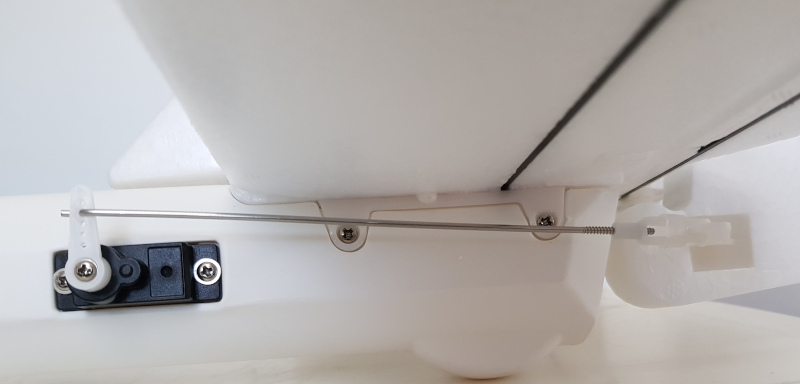
Rudder pushroad mounted and connected to the servo:
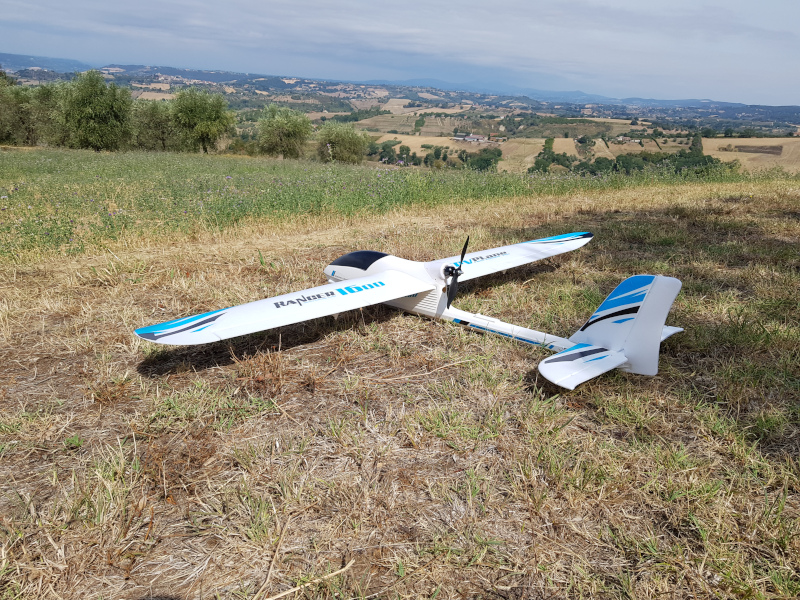
Here it is the final product ready for the take off at the flying field:
Conclusions
In this article we have seen the build and review of the Volantex Ranger 1600 V757-7. This RC plane is a must have for everyone in the RC flying world since it is good both for beginners (forgiving high wing plane and fuselage made with durable plastic material) and experienced pilots wanting to try FPV flying.
It is capable of very long flying time especially with a 4000mAh 3S battery and a good throttle management, so it is possible to stay in the air from 15 to 25 minutes depending on your flying style (of course with good wind soaring you can stay up even more).
Volantex Ranger 1600 V757-7 is available here.