In this article we will see how to add an FPV camera system to the Syma X5C.
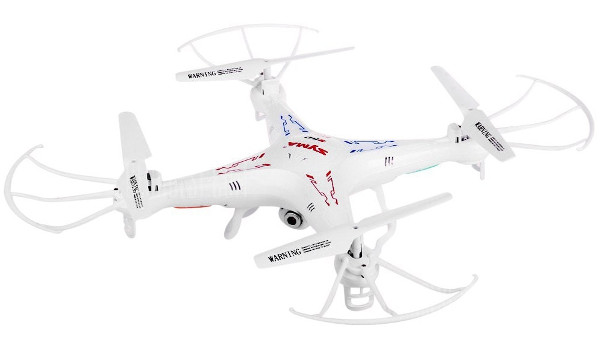
Syma X5C is a really basic RTF brushed quadcopter which comes with a 2MP camera that can take photos and record videos storing them on the 2GB SD card included in the package. Everything is powered up by a 3.7V 500mAh LiPo battery which guarantees 6-7 minutes of flight depending on flight style and camera usage.
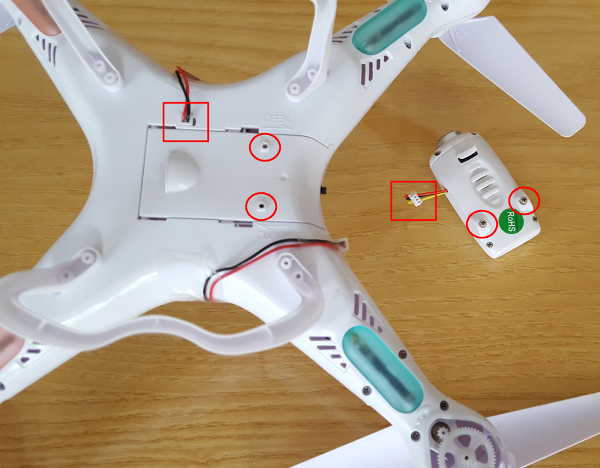
2 MP Camera removal
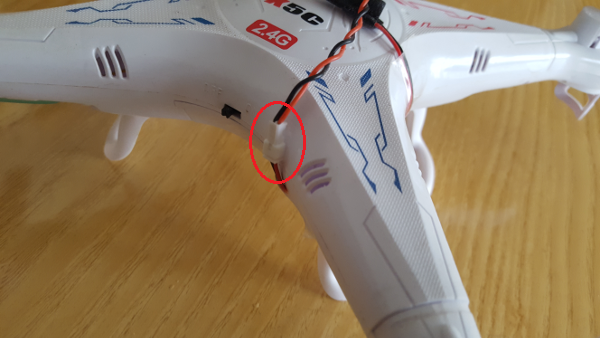
Since we are going to install our FPV camera and connect it to the same port on which there is the supplied 2MP camera, it is a good idea to remove the standard camera to save as much weight as possible. To proceed we have to disconnect the plug and remove 2 screws like shown in the following image:
Mounting FPV Camera
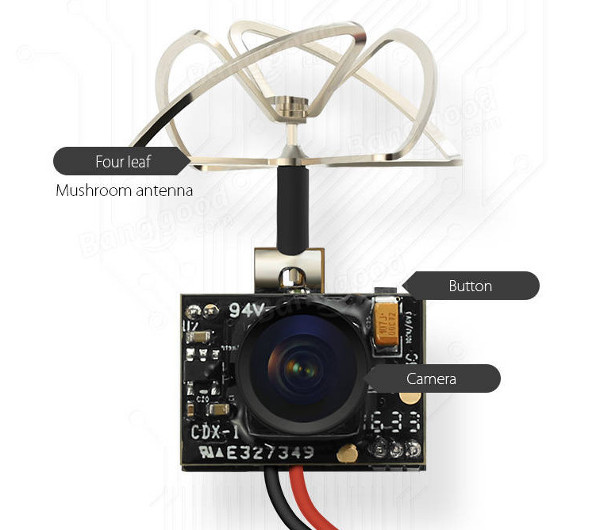
For this mod I have chosen to use the Eachine TX02 FPV 5.8G 40CH 600 VTL camera (NTSC) with 120° FOV that has a built in video transmitter with nickel-plated 4 leaf omnidirectional antenna (RHCP circular polarization clover). It is really lightweight (4.57g) and it has a transmitting output power of (0/200)mW, while the input voltage is 3.2-5V. Newer version of the camera allows to set the power to (0/25/50/200)mW: Eachine TX03.
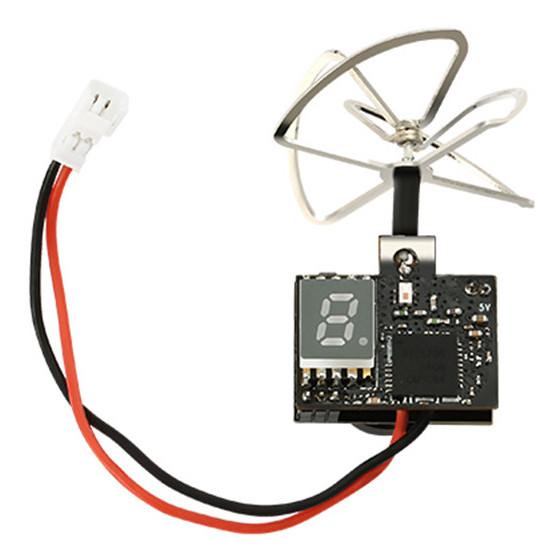
On the back there is a display that shows which channel (5 bands, 40 channels) we are currently transmitting on. To change the CH (channel), short press the button. To enter in FR (band) change mode, just press and hold the button for 2 seconds (short press after to switch between bands). To turn off the video transmitter press and hold the button for 5 seconds (display: “0” is off, “=” is on).
Since we need to connect this FPV system to the quadcopter to power it up, we need the proper connectors: JST 2P Connectors
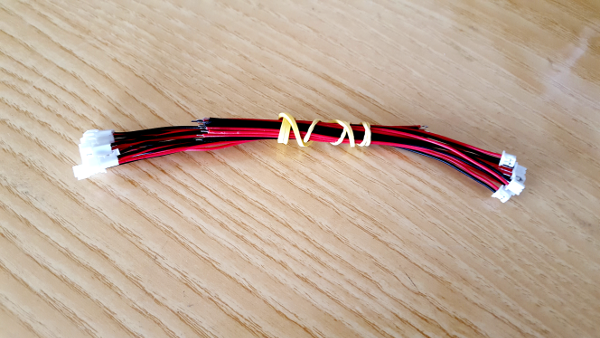
The wires come with male or female connector on one side while the other is free, so we need to solder two of them to have a single cable with two male connectors (red wires together, black wires together).
Once the soldering job is done we can finally plug everything in:
Considering the power consumption added by the FPV system, it is a good idea to buy a bigger battery to have a decent flight time (better to stay in the range of 6-7 minutes to let the brushed motors cool down): 3.7V 800mAh LiPo Battery
A simple but effective way to fix the camera on the Syma X5C is to use double-sided tape.
This is the final result:

Now we can just check that everything is working correctly by tuning our FPV monitor or goggles on the same transmitting channel configured on the TX02. Down below two cheap alternatives:
-
Eachine LCD5802D 5.8G 40CH 7 Inch FPV Monitor with DVR and Built-in Battery: a detailed review is available here;
-
Eachine VR006 VR-006 3 Inch 500x300 Display 5.8G 40CH Mini FPV Goggles with Built-in Battery: a detailed review is available here.
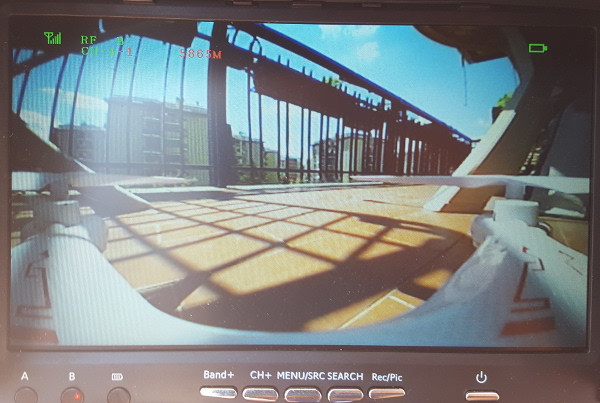
View from the monitor on CH-A-1:
Conclusions
We have seen how with a simple modification it is possible to set up a cheap FPV system on the Syma X5C by using the Eachine TX02. This is a good setup for who wants to start experiencing FPV for the first time without spending too much money.