FPV goggles can be divided in two main categories based on the form factor: box style or slim (Fat Shark like).
Eachine VR006 are mini FPV box style goggles based on Fresnel optical lens zoom principle.
In this article we are going to review the Eachine VR006 mini FPV box style goggles, looking through their specifications and functionalities.
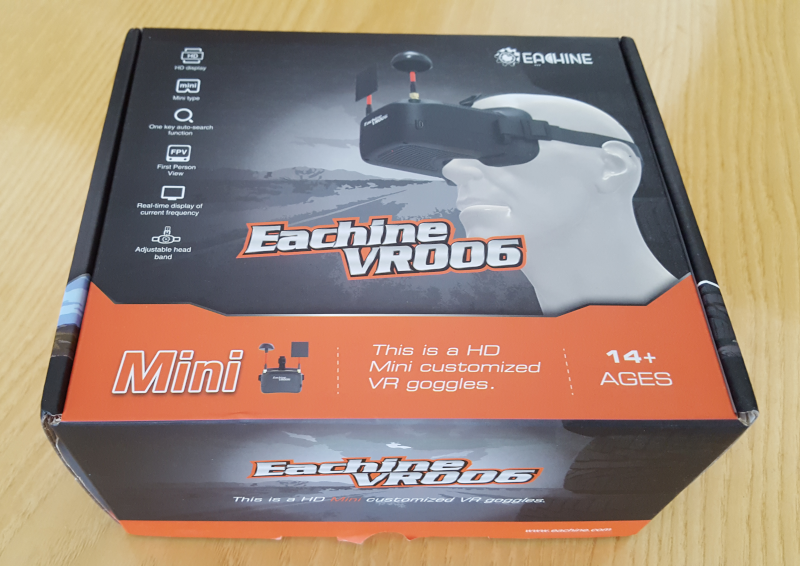
The following image shows the box containing the Eachine VR006 mini FPV goggles:
Box contents
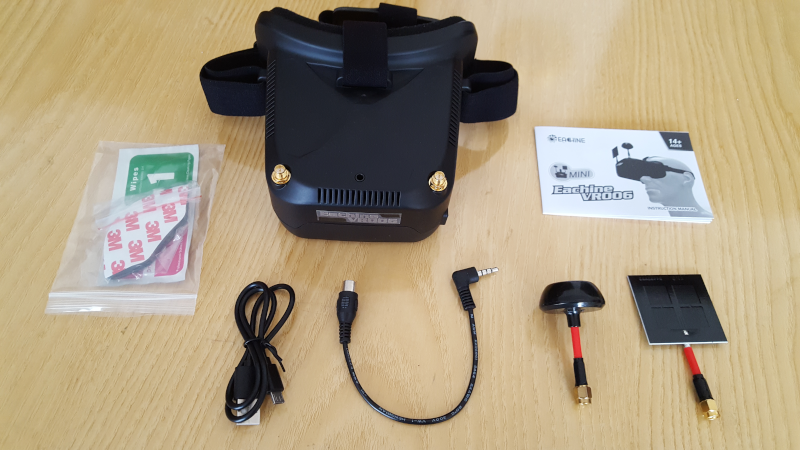
Inside the box we get the following items:
- Goggles with adjustable elastic head band and sponge pad for comfortable skin touch when wearing;
- Mushroom antenna;
- Flat plate antenna;
- Operating manual;
- USB charging cable;
- AV IN cable;
- 2 x Alcohol cloth to clean the screen;
- Additional sponge for more comfortable nose contact.
Specifications
Here below are reported Eachine VR006 main specs:
- Screen size: 3” LCD display;
- Screen resolution: 500x300 pixels;
- 5.8 GHz with 40 receiving bands (bands and channels are not selectable, selection is done by setting up directly the frequency value);
- Single receiver
- Dual RP-SMA male antennas (they do some kind of mixing, no diversity since it is mono receiver): mushroom (omnidirectional) and flat plate (directional) antenna. A good idea is to replace the mushroom one with the Aomway 5.8G 3dBi RP-SMA Four Lobe RHCP antenna which is well known to have a very good performance;
- Built-in LiPo battery 1S 500mah (3.7V-4.2V) that ensures a working time of 1 hour (working current 350-450 mAh);
- Fresnel lens: beware that distance not adjustable and, since goggles screen display housing is small, there is no possibility to fit glasses in it;
- Small and lightweight: 138*129*79mm (without antennas) with a weight of only 165g;
- Receiving sensitivity: -95dBm;
- One key auto-search function.
Buttons and Function Menu
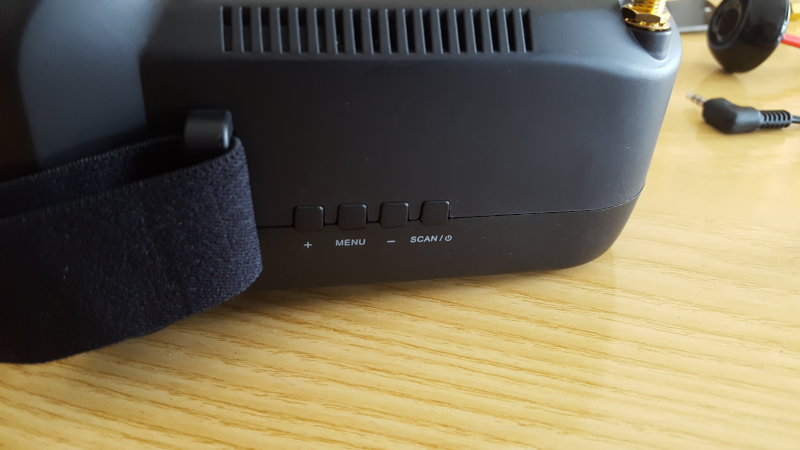
There are 4 buttons on the right side of the Eachine VR006 goggles:
- ”+”;
- “MENU”;
- ”-“;
- “SCAN / Power On/Off”.
By long pressing (4 seconds) the “SCAN / Power On/Off” button, the goggles turn on.
Once turned on, short pressing the “MENU” button allow us to enter the menu option Function; here, every time we press the “MENU” button we cycle between the following configurations:
- Brightness adjustment: increase or decrease the value by using “+” or “-“ button;
- Contrast adjustment: increase or decrease the value by using “+” or “-“ button;
- Saturation adjustment: increase or decrease the value by using “+” or “-“ button;
- “AV / AV IN” mode setting: by pressing “+” or “-“ it is possible to switch from AV to AV IN and vice versa (in case we want to use an external video source by using the included cable);
- Frequency Display: by pressing “+” or “-“ it is possible to switch from On to Off and vice versa (in case we want to hide frequency value from OSD).
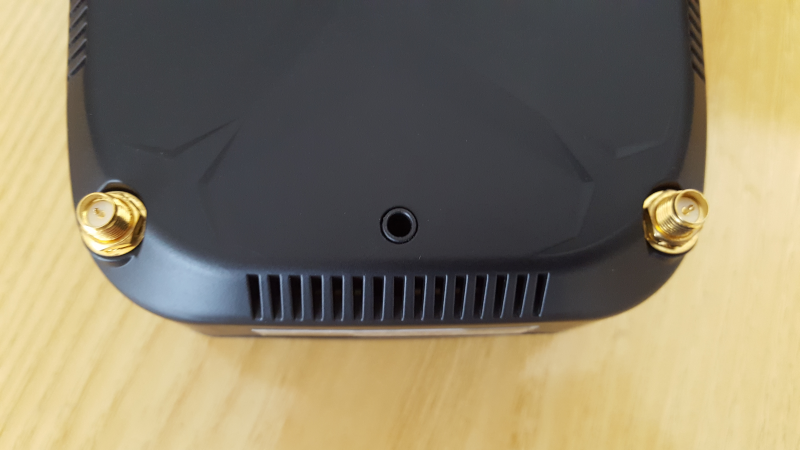
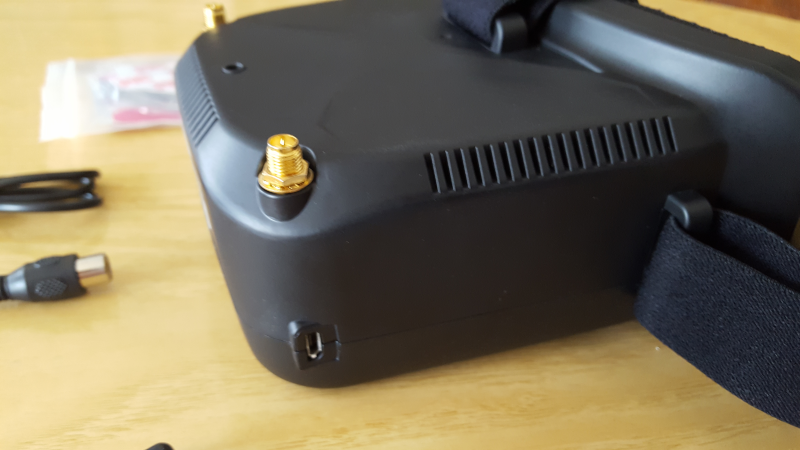
Here is a detail of the “AV / AV IN” port with the holes for cooling:
Once in “Frequency Display” menu, pressing again the MENU button makes us Exit from menu option Function, returning back to the FPV screen.
On the FPV screen it is possible to change the frequency and, to do so, there are two options:
- auto-search functionality: pressing once the “SCAN / Power On/Off” button, it starts to look through all the frequencies for a good video signal to tune on;
- manual frequency setup: it is not possible to set band and channel, but we have to go through all the frequencies using the “+” or “-“ button until we reach the one we want to receive on (however the last frequency set remains configured also after turning off the goggles).
The image below show Eachine VR006 screen display:
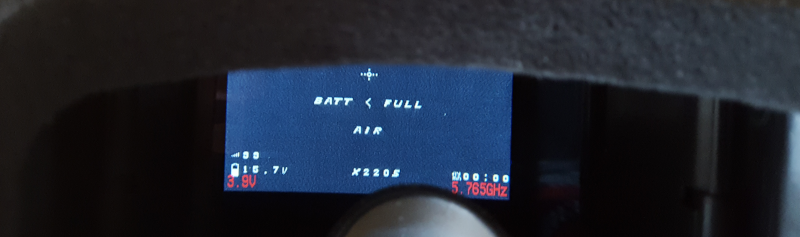
Beware the informations in white are from the Eachine Wizard X220S OSD, not from the goggles; the only two values goggles related are the ones in red: battery voltage and frequency (in this case 3.9 V and 5.765 GHz). Unfortunately, it is not possible to hide goggles battery voltage in the OSD (only the frequency can be removed as seen above).
Battery Charging
To charge Eachine VR006 goggles we have to use the micro USB charging port (more or less one hour of time to full charge):
When plugged to a power source through USB, a red light indicates the battery is charging:
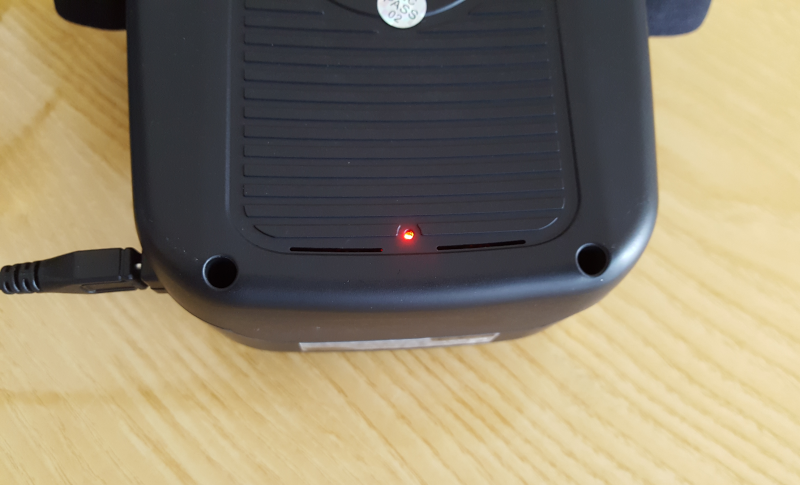
Eachine VR006 goggles support the possibility of charging while in use. After full charge is reached, the light goes off.
Reception
The single receiver does a pretty good job, so reception quality is very good. As written before, a nice improvement is to change the stock mushroom antenna with this one which is cheap, but effective: Aomway 5.8G 3dBi RP-SMA Four Lobe RHCP antenna.
Conclusions
Eachine VR006 mini FPV goggles are addressed to who wants to start experiencing FPV for the first time without spending too much on goggles : they are really cheap and can be found here. They can also be carried on the field as spare goggles in case we want to let someone experience FPV while we are using our main goggles. Moreover they are small/light and this is a very good feature for box goggles since they are generally big/heavy.
Speaking about improvements, a nice one would be to have Digital Video Recorder (DVR) integrated with the goggles, a real diversity and adjustable distance between screen and lens.
If you want to know how to install a DVR on the Eachine VR006 Mini FPV Goggles, read this article.
If you want to know how to install a diversity receiver module on the Eachine VR006 Mini FPV Goggles, read this article.